
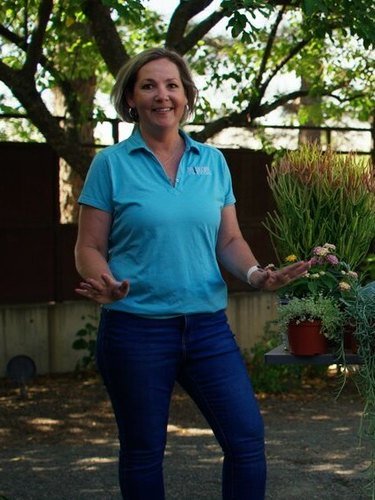
Colorado’s drought conditions have a lot of homeowners asking the same question: do I have to give up my beautiful containers to comply with water...
At Designscapes Colorado, since 1992, we've always attributed our growth to building genuine relationships, investing in our people, and delivering...
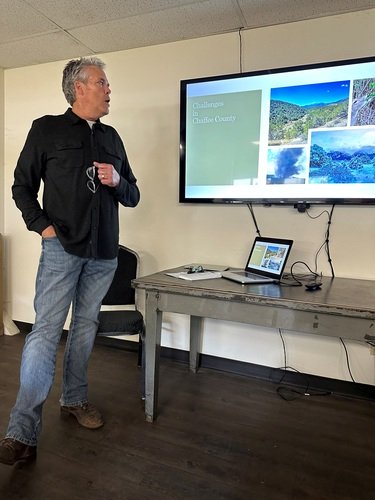
At the recent Salida Home & Garden Show, Designscapes Colorado's Designer Michael Buchenau presented "Considering the Home Landscapes of...
Since opening our doors in 1992, we have grown into a team of 338 dedicated professionals who believe that how we do our work matters just as much as the...

Each year, the National Association of Landscape Professionals (NALP) hosts the National Collegiate Landscape Competition (NCLC) , one of the most...
When individuals first explore a career in landscaping, they often discover something surprising: the industry isn't a one-size-fits-all. There are...
A career in landscaping is a rewarding career that combines creativity, technical skill, and a genuine love for the outdoors. Whether you're starting out...

As we close out the year, we’re taking a moment to reflect on what truly made it special. Inspired by the idea of Spotify Wrapped , Designscapes...